Get Started
The OpenRemote Platform is a tool for manufacturers and service providers who need to manage multiple devices, gateways and users. In this guide we will setup the platform and its manager web interface locally, add a live data source, and create some simple rules. After that you can explore the functionality of the platform. Developers can continue diving in deeper by customizing their project, creating their own protocols, or contributing to the code.
1. Set up the Platform
OpenRemote runs in Docker Containers. Therefore, you can run it on virtually any hardware and operating system: eg. Linux, Windows, Mac OS X, either locally or on a hosted server.
We will get a project running locally by following the OpenRemote Readme: QuickStart
In the manager interface you can access one realm (Master) on the top right. The ‘Master’ realm contains no assets yet. Assets are digital representations of physical or logical things. The data of an asset is stored in its attributes. Attributes can contain sensor values, control commands, a location, and/or values generated by the rules engine.
In the next step we will create an asset and connect some live data to an attribute.

2. Connect a data source
There are several protocol agents available in OpenRemote to connect to devices and services, such as HTTP, MQTT, UDP, TCP-IP, Websocket, KNX, Velbus, and Z-wave.
For the purpose of getting familiar with OpenRemote, we will connect to an HTTP API to collect live weather data:
You can also make use of the OpenRemote API’s to retrieve and send data to your product. To learn more about this read the MQTT, HTTP, and WS API page.

3. Create rules
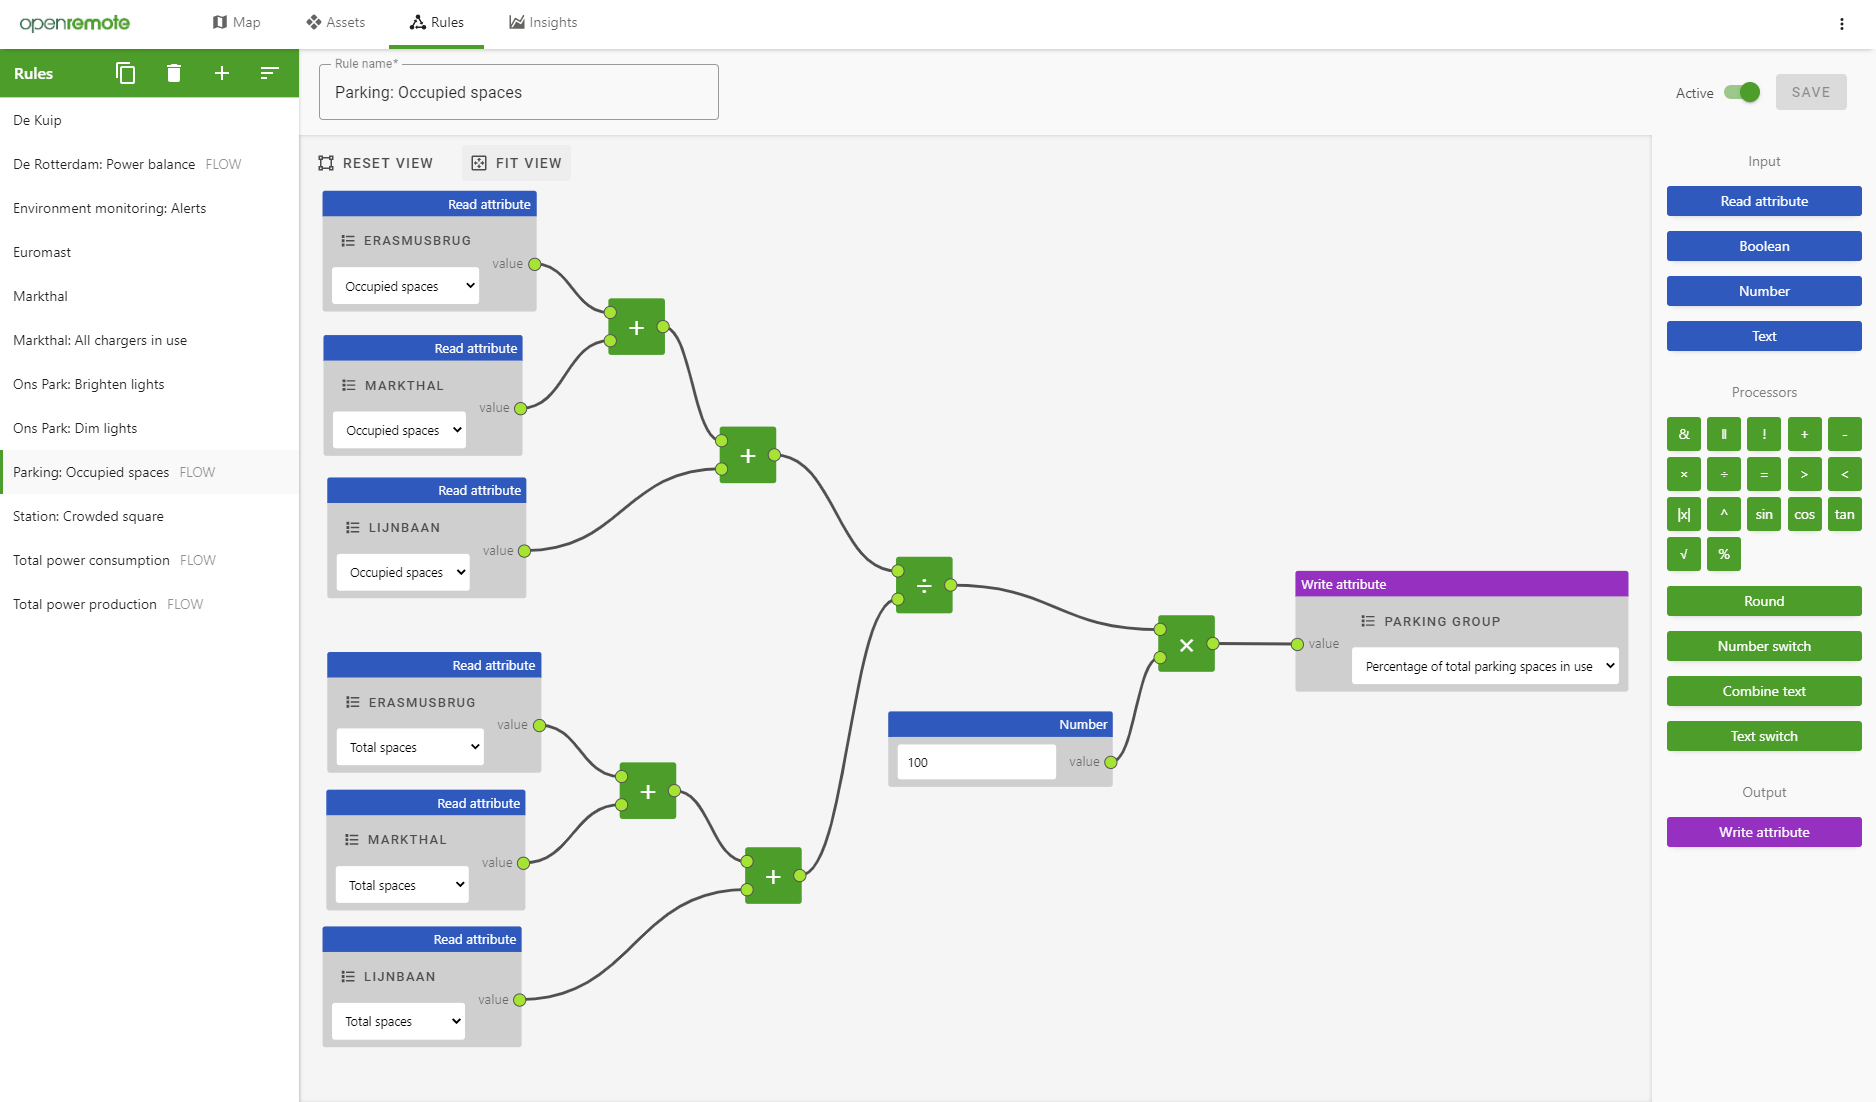
The OpenRemote has several ways to add automation and intelligence to your project: Flow, When-Then, and Groovy. The Flow and When-Then rules interfaces are aimed at ease-of-use and are accessible for non-developers. With Groovy you can create more elaborate rulesets.
- Flow: Drag-and-drop assets and attributes to process data and create new attributes
- When-Then: Set up thresholds for attribute values that trigger actions such as controlling an asset, or sending an e-mail or push notification
- Groovy: Set up thresholds for attribute values that trigger actions such as controlling an asset, or sending an e-mail or push notification

Now we have seen the main functionalities of the application. There is much more to explore, which you can do at your own leisure and with the support of our online documentation and our forum.
Developers who want to learn more can continue reading in the Developer Guide section on the wiki, starting with Setting up an IDE.
